Celebrate your furry friend on Dog Appreciation Day

While we're talking about food, don't forget your furry friend on August 26. They'll love these three ingredient dog treats.
August 26 is Dog Appreciation Day - a day to appreciate your best friend on four legs.
These tasty treats are a great way to use on ripe bananas and we think your pup will love them.

Oatey banana woof bites 🐶
Grab a banana, peanut butter, and oats and make these pawfect three ingredient dog treats.
Easy, cheap, no packagaing and best of all, our best friend will love them. If you have playdough cutters hanging around, they tend to have great shapes, but let's face it, any old shape will do!
Easy Homemade Dog Treats!
Prep Time: 15 minutes
Cook Time: 30 minutes
Servings: 40 (Makes about 40 treats depending on the cookie cutter size))
Ingredients
- 2 cups oats (old fashioned, 1-minute oats, or instant) plus more if needed- see step 3
- 2 medium ripe bananas
- ½ cup natural peanut butter (see note)
Instructions
- Preheat your oven to 300F (150C). Line a baking sheet with parchment paper.
- Add the oats to a food processor and grind until they reach a fine powder. (If you do not have a food processor, see the recipe notes for other options). Add the bananas and peanut butter and blend until a sticky dough is formed.
- Remove from the food processor and roll out on a lightly floured surface. (Use whole wheat flour, more ground oats, or another dog-safe flour that you have on hand). I used a heart cookie cutter to cut out the treats but you could use any cookie cutter, or just cut them into squares with a knife or pizza cutter.
- Lay the treats on the prepared baking sheet and bake for 25 to 30 minutes, until the treats are puffed up a bit, dry and dark brown on the bottoms, (they will still feel soft when first removed from the oven). The treats will get a bit more firm once they are cool but will still be a slightly softer dog treat. Let cool before giving one to your pup. Store in an air-tight container at room temperature for up to 1 week, in the fridge for up to 2 weeks, or I like to store them in my freezer which makes them firmer and makes them stay fresh a long time.
Notes
If you don't have a food processor, you can still make these treats. Grind the oats up in a blender or coffee grinder, then add the ground oats to a bowl with the peanut butter and mashed banana and mix to make a dough. Or you could buy oat flour and use that instead. You will need less oat flour as it is denser, so start with 1 cup and add more as needed.
Note on peanut butter: Ensure your peanut butter is natural (the runny kind). The only ingredient should be peanuts. Avoid added oils, sugars, and especially xylitol, as it is toxic to dogs.
Find it online: https://itdoesnttastelikechicken.com/easy-homemade-dog-treats/
Go one step further with this homemade peanut butter recipe
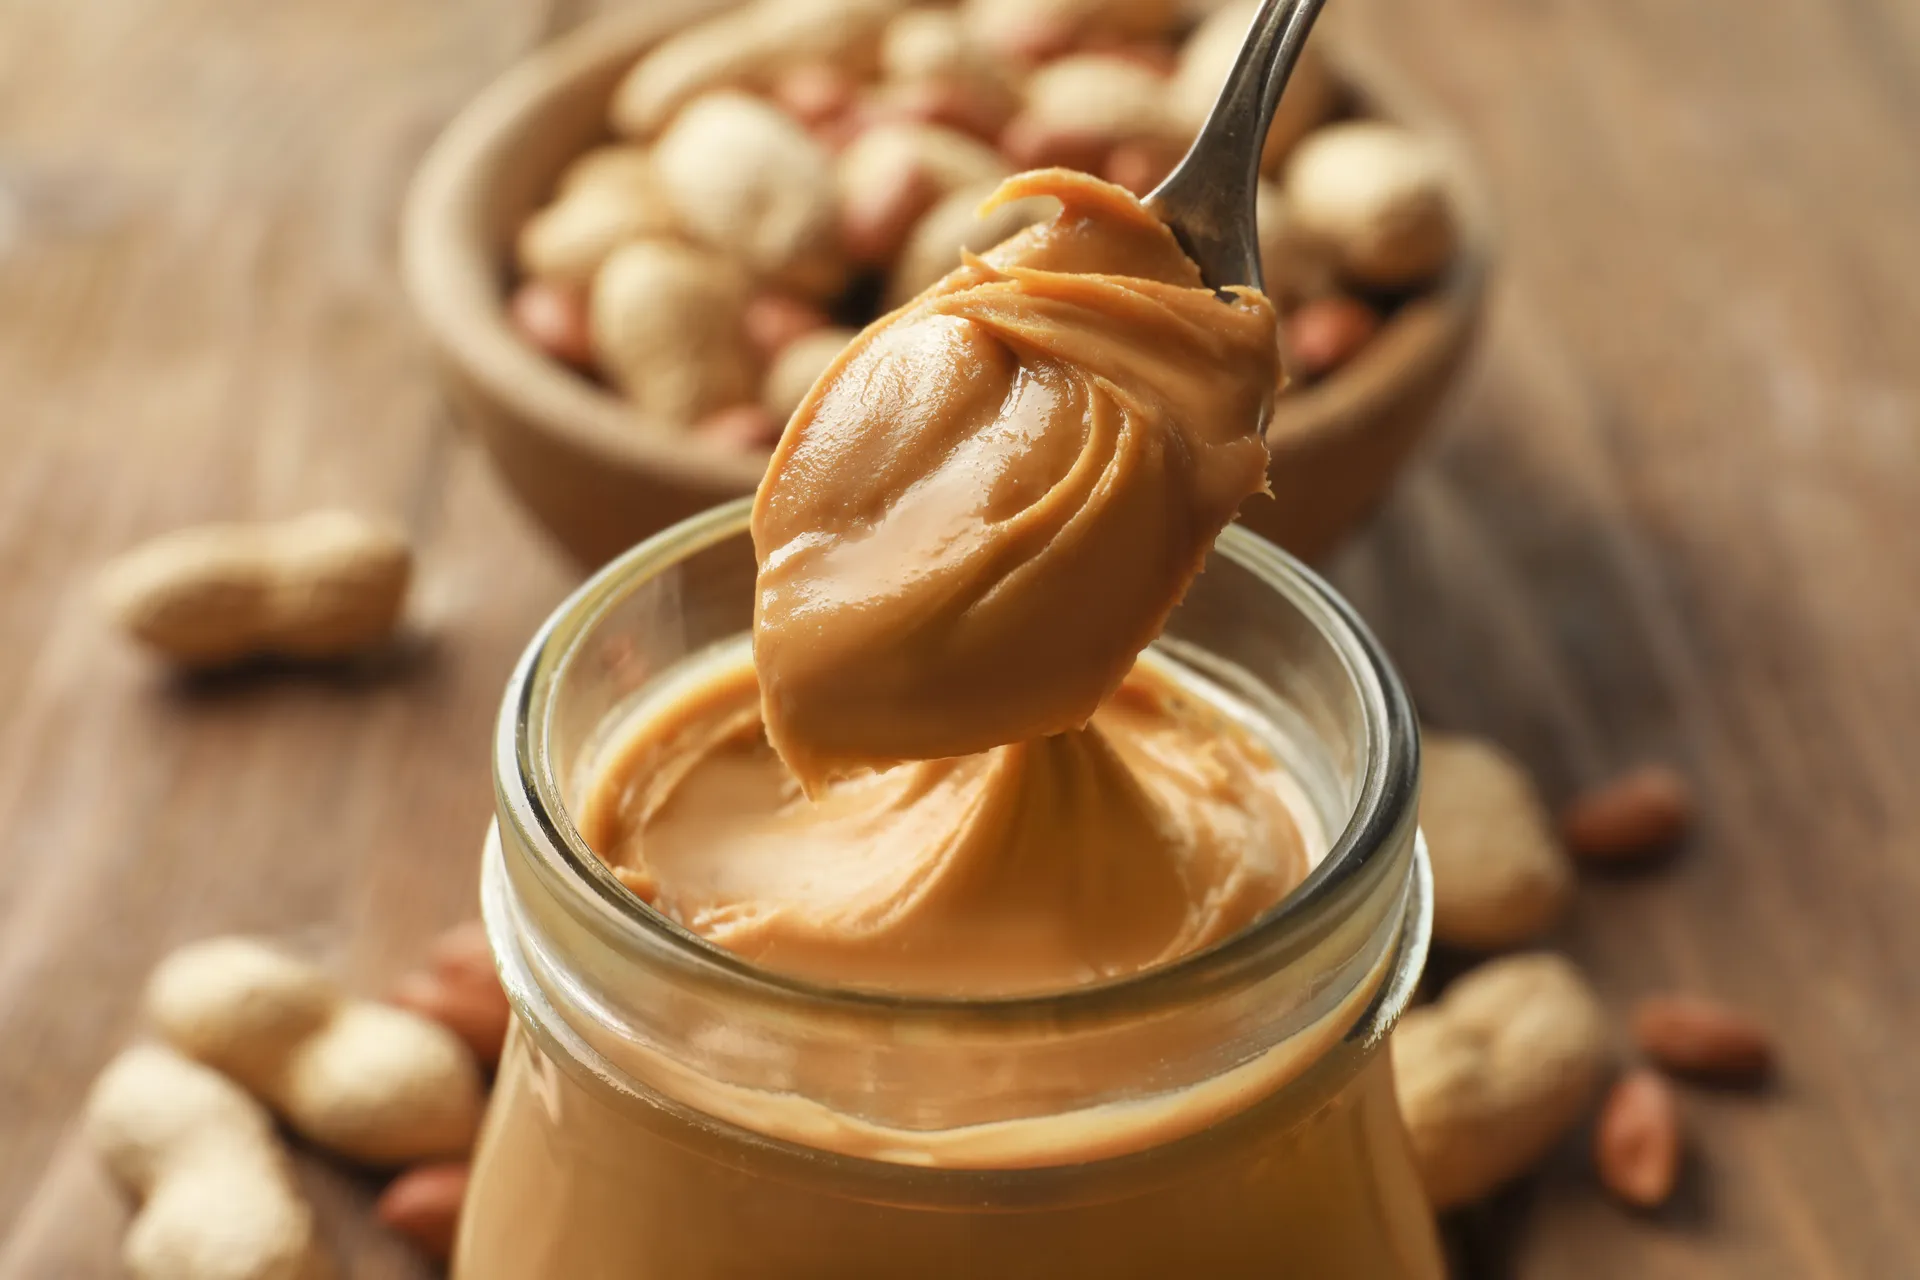
As long as your nuts are unsalted, shelled (where applicable), and the skins are removed, then you can get as creative as you like with your homemade nut butters. Cashew, walnut, pistachio, almond, and hazelnut are all great options. The method is exactly the same across the board.
Toast your nuts
The first thing you'll want to do before blending your nut butter is to toast your nuts. As far as how many nuts you toast, 2 cups will yield you about 1 cup of butter, which is a great starting point if you've never made it at home. You can always scale up or down your recipe, just keep in mind that you don't want too many nuts, which can overwhelm your machine.
To toast the nuts, heat a large, dry skillet over medium heat, and spread the nuts in the pan. Toasting nuts not only brings out a deep, nutty flavor, but it helps to extract some of their oils, which is helpful when it comes time to blend 'em up. After about 5 to 8 minutes (stirring regularly), the nuts should be fragrant and take on a golden-brown hue, and they should have a subtle glisten to them. Once they're oily and toasted, go ahead and dump them into your food processor or blender.
Process the nuts
This is the best part. Why? Because you don't have to do anything. Simply let your machine go for 5 minutes or so and watch your nuts transform into a luxurious butter.
They'll turn sandy and crumbly at first, but then you'll start to see them gradually clump together, until they'll finally smooth themselves out into a creamy butter.
If it seems like nothing is happening, just be patient. Different machines can vary when it comes to how long this process takes, so just keep the faith until you see a smooth nut butter beginning to form.
Flavour and season
Now, you could just stop there and have a basic nut butter, which would be great if you plan to use it for savory applications. However, if you want to have some fun with it, there are plenty of tasty ways to dress up your homemade nut butter. You can add your favorite sweetener of choice — honey, agave, maple syrup, or sugar would all be great. Throw in some warm cozy spices, like cinnamon, cardamom, ginger, or a pinch of nutmeg.
If you love coffee, sprinkle in a few pinches of espresso powder for a zingy, java flavor. Or if you love chocolate, then a few tablespoons of cocoa powder would be a very welcome addition. A teaspoon of vanilla extract never hurts. Take things up a notch and add a few chiles for a spicy nut butter (it might sound strange, but trust me, it's delicious). There are no wrong answers here — the more creative, the better. If you only add one thing, let it be salt. You'll typically need at least a teaspoon of salt per cup of nuts, so don't be shy.
The more additions that you add, the more likely it is that your nut butter might lose its creamy consistency and return to that clumping stage. The fix is simple: just add some oil to thin it out. In a perfect world, you'd use the corresponding oil to the nut that you're using. For example, if you're making peanut butter, you'd use peanut oil — and walnut oil for walnut butter. However, if you don't have the corresponding oil, just use one that's neutral and flavorless like peanut, canola, vegetable, or grapeseed. Add your oil, a tablespoon at a time, until your nut butter is smooth and creamy.
Serve it up!
The only thing left to do with your impressive homemade nut butter is to eat it. Spread it on toast, throw it in smoothies or oatmeal, or incorporate it into cookies, granola, and bars. Store it in an airtight container at room temperature for up to 6 months (but given how delicious this stuff is, I doubt you'll be able to hold onto it for that long). I hope your first go-around with making homemade nut butter is as memorable as mine. Who could forget such a mind blowing realization? It was, quite literally, nuts.


