How to grow your own sprouts
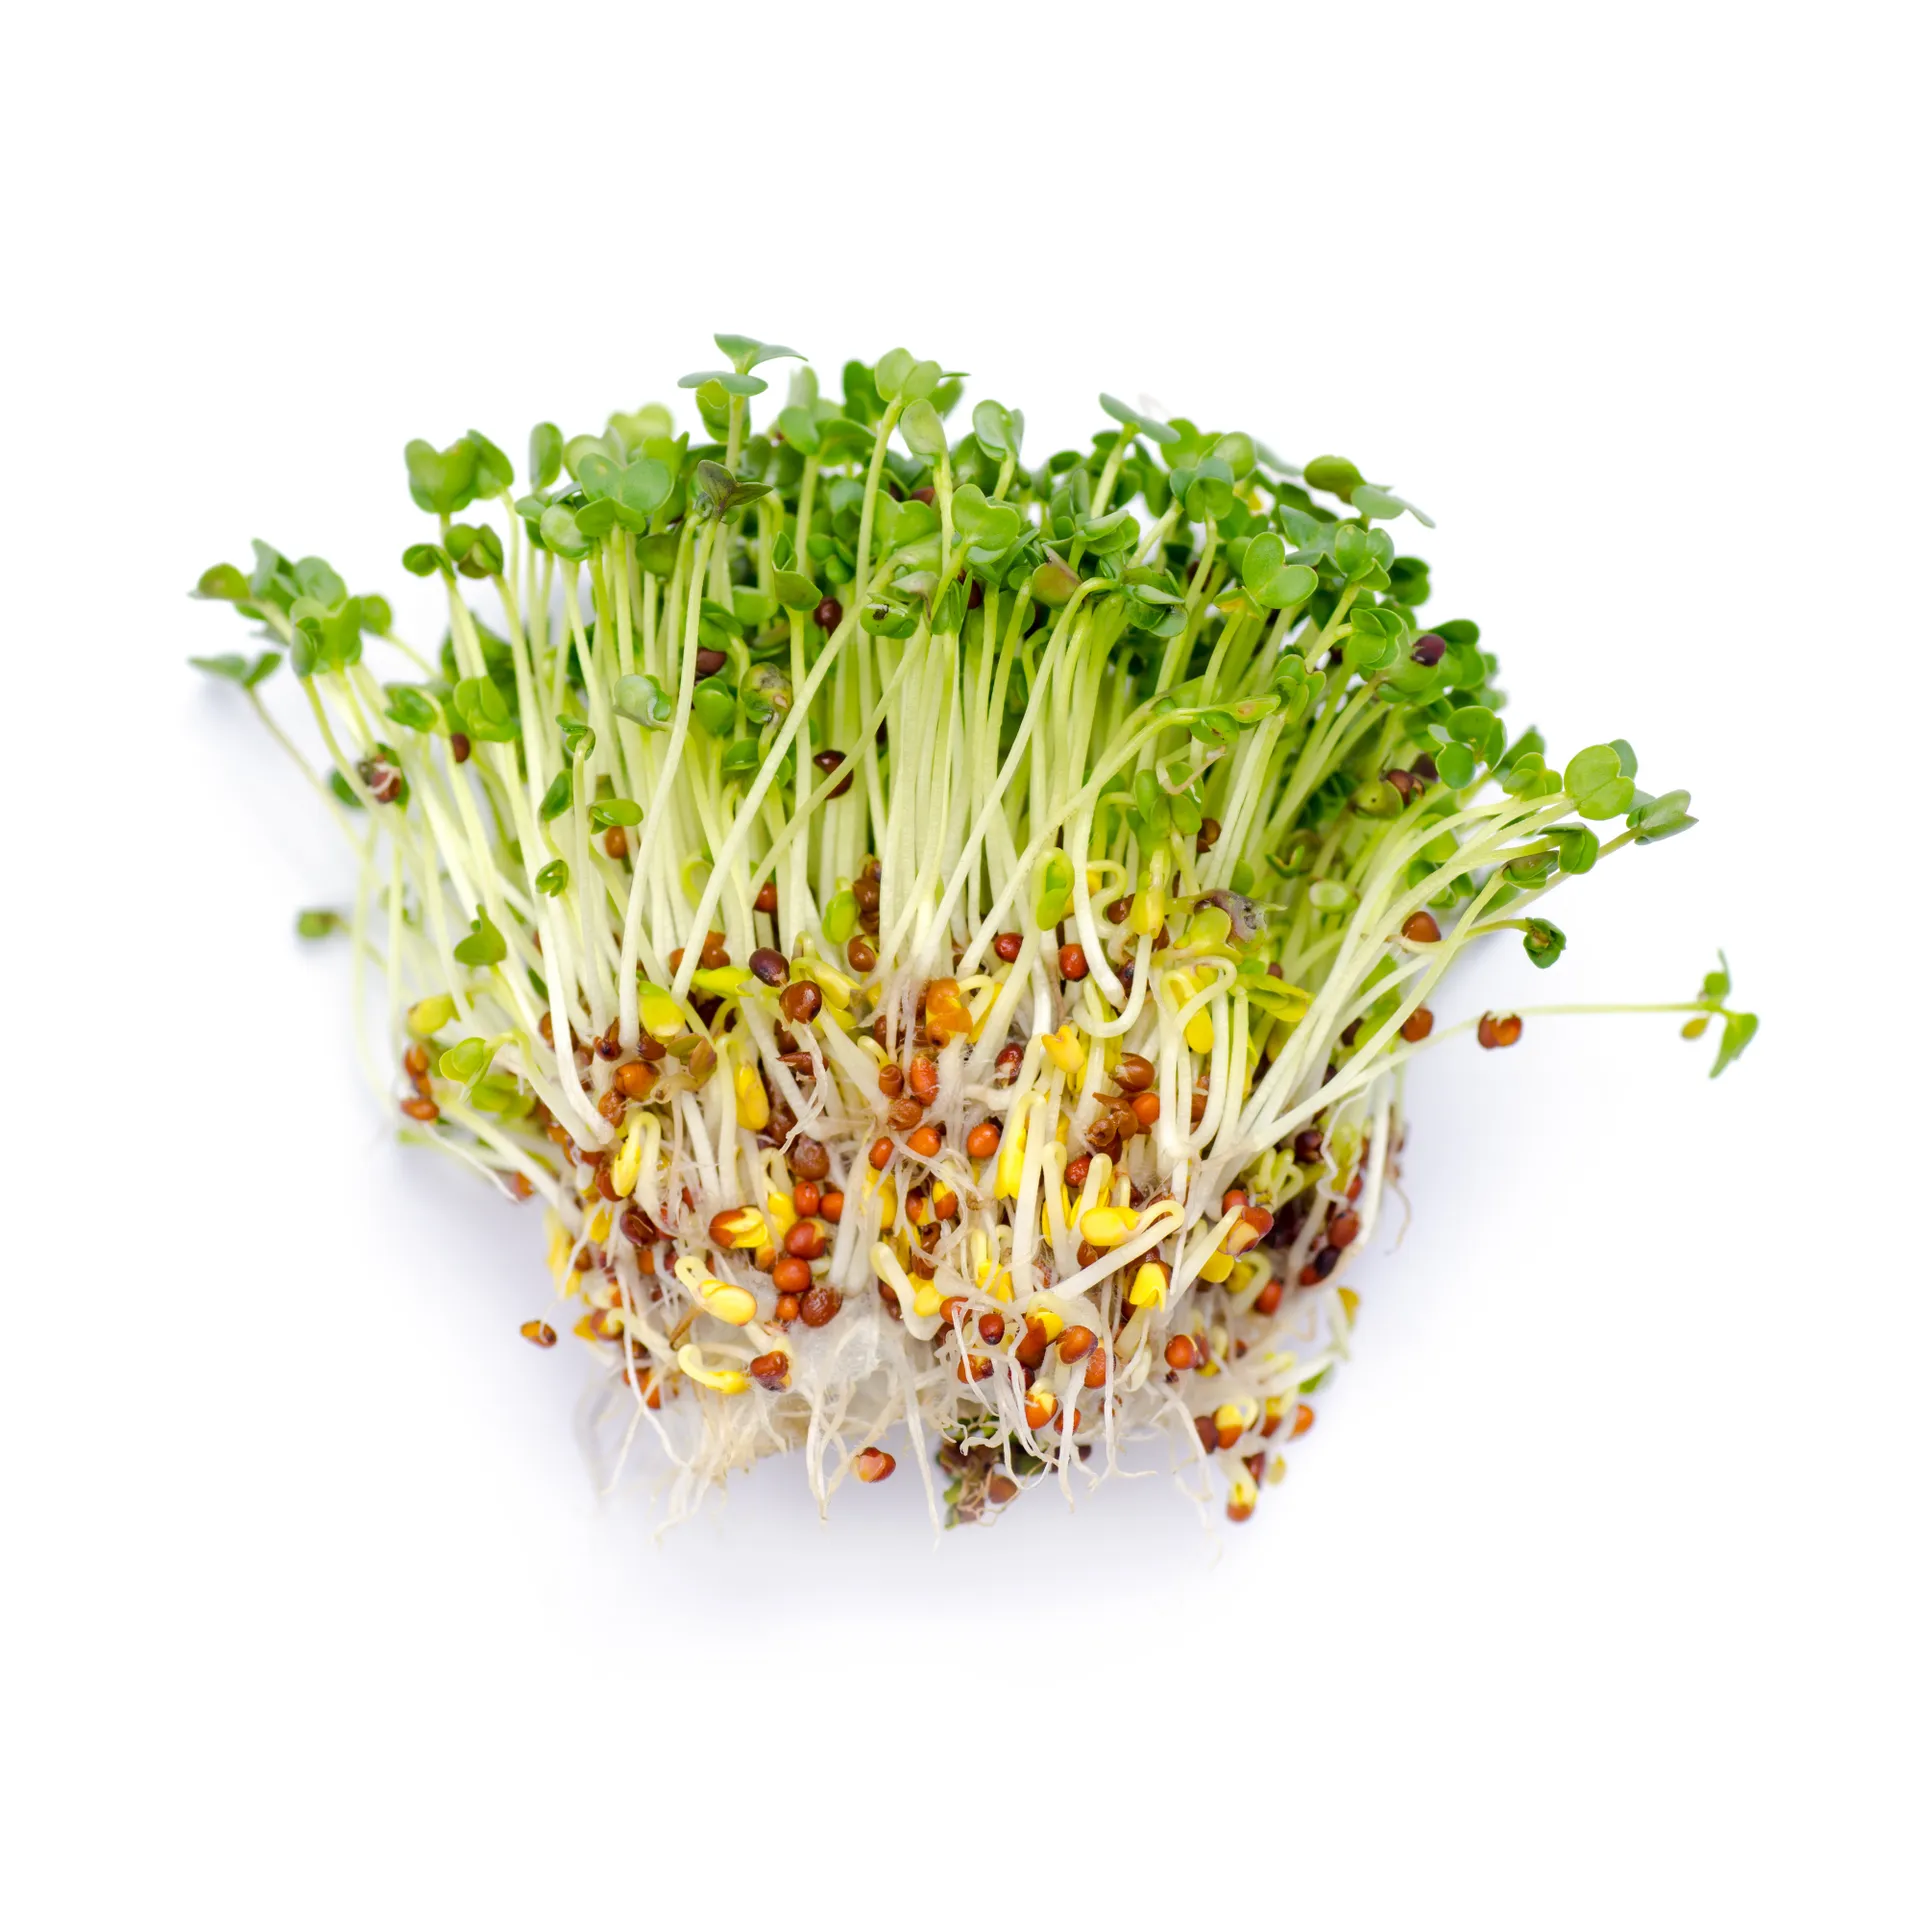
Growing your own sprouts at home is fun and easy. It's a perfect activity to get the kids interested in producing their own food as they can watch progress each day.
Minimal equipment is needed and supplies are readily available at health food stores or online (see notes at the end of the article). Once you have set the sprout jar up on the first day, simply rinse the sprouts 2-3 times day until they are ready to eat - it's as easy as that!
What you will need
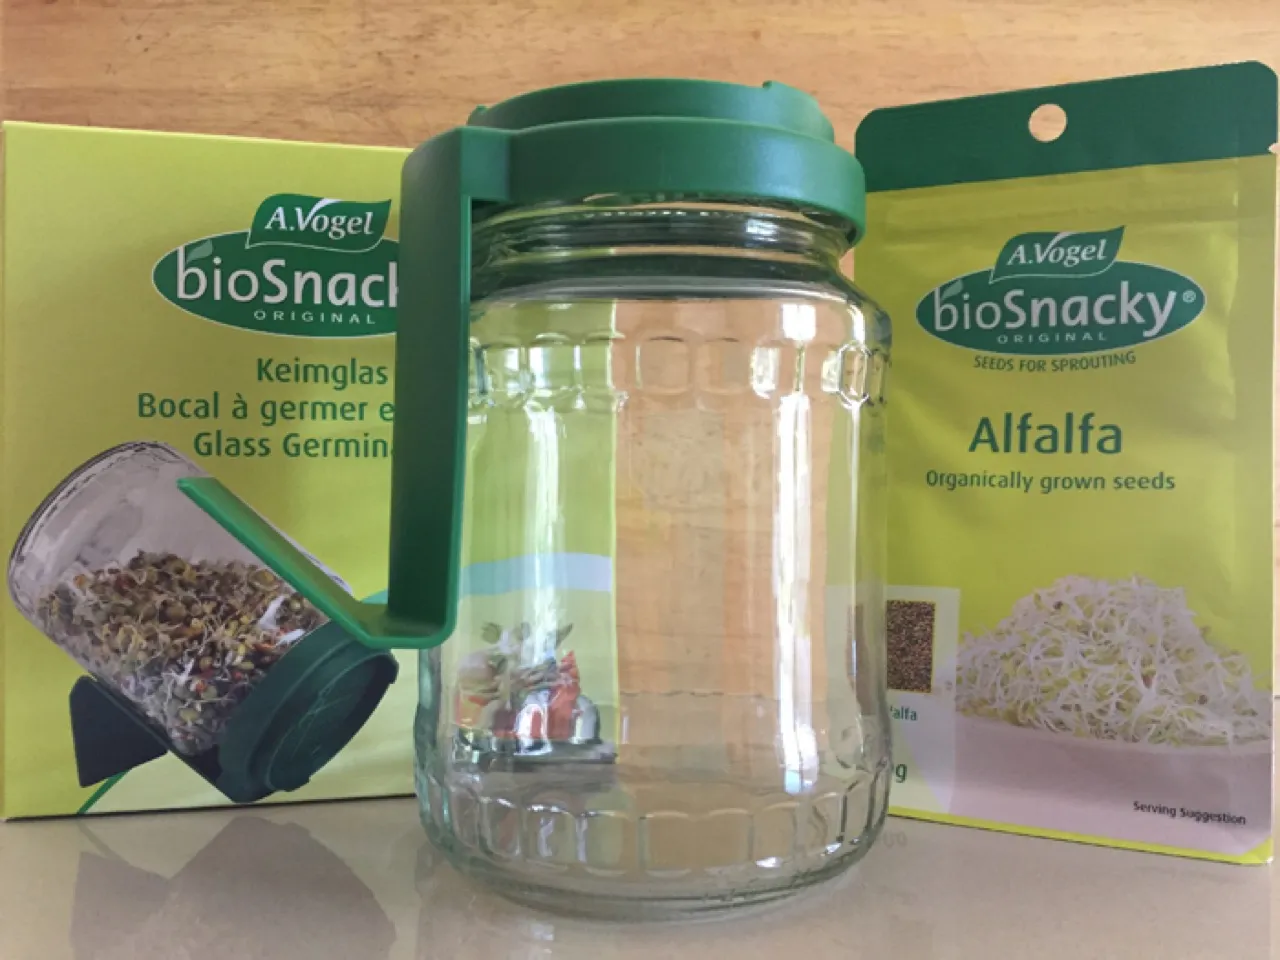
- 1 x BioSnacky glass seed sprouter (there are plenty of other methods but this one is tried and true, and easy for beginners)
- Seeds of choice. We are using alfalfa sprouts for this example but many other seed varieties can be used. Note that it is important to use organic seeds for sprouting.
- Ceramic dish for catching excess water draining from the seed sprouter
- A kitchen bench or an area inside that is out of direct sunlight
Day 1: Preparation and soaking
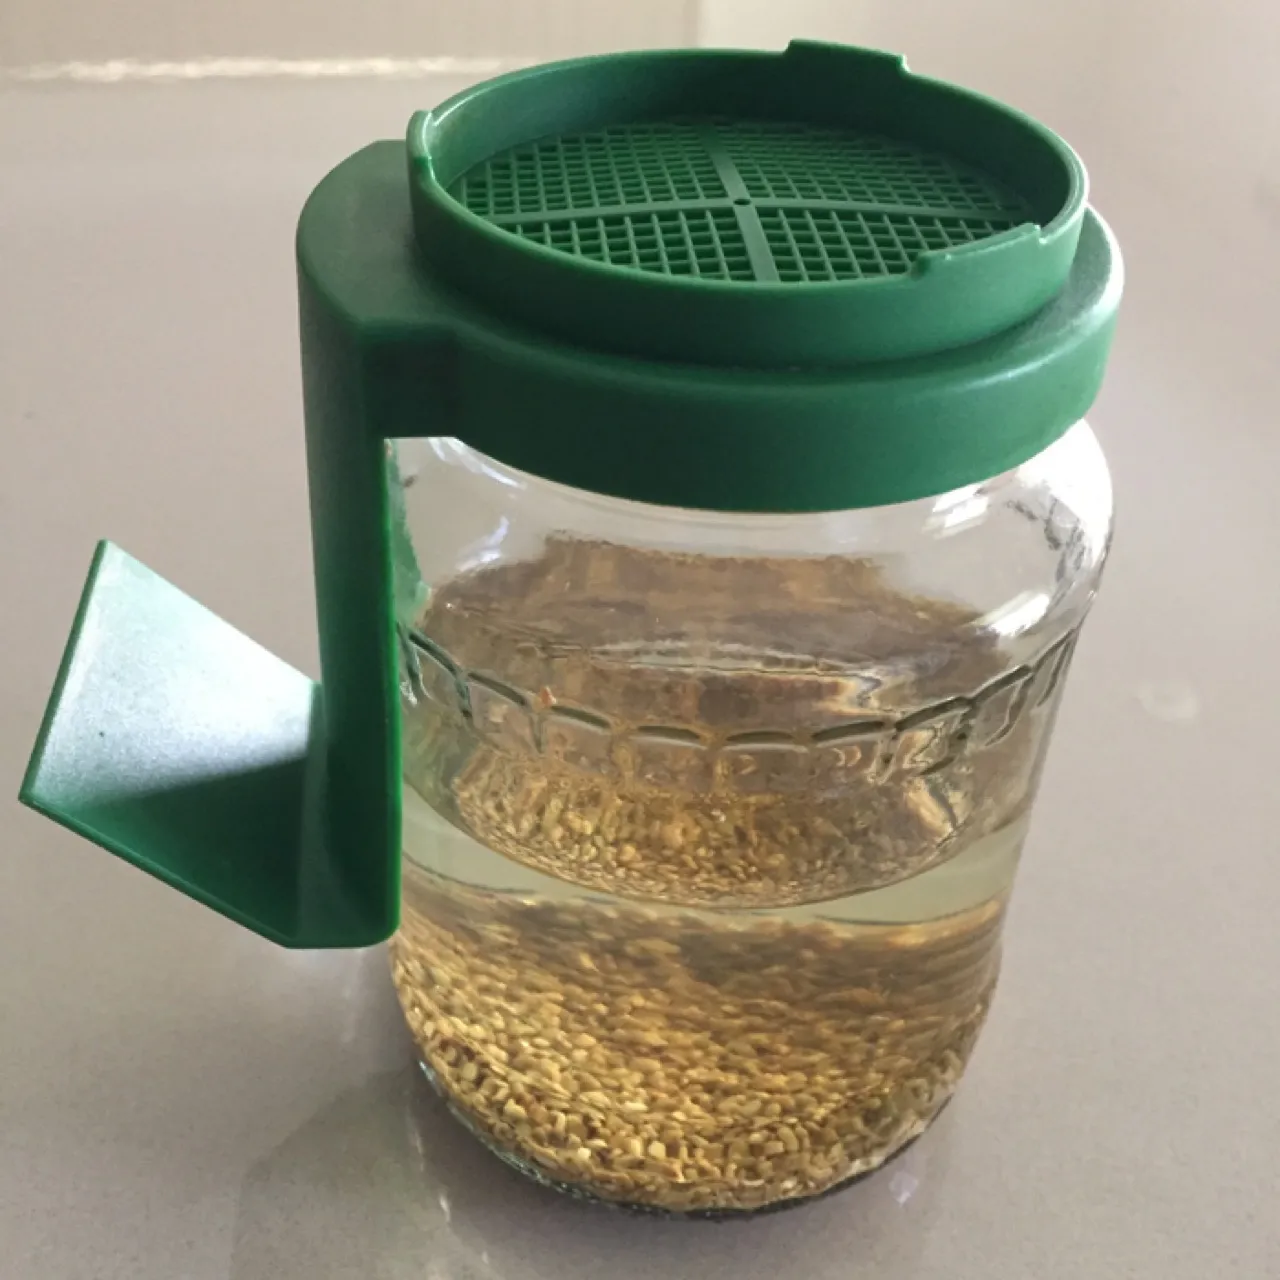
- Rinse seed sprouter jar and ceramic dish with boiling water and dry with paper towel
- Place 2-3 tablespoons of the sprout seeds into the jar and place the lid on securely
- Cover with cool tap water so the jar is approximately half full
- Leave upright for four hours so the seeds can soak (this can also be done overnight)
- After four hours, drain water from the sprouts (the water can be used in a pot plant or your garden), then rinse well with cool, fresh water
- Drain off excess water through the sieve and then tip the seed sprouter on an angle, leaning it on the green stand in the ceramic bowl. This angle allows excess water to drip out of the jar so the sprouts don't become too wet
Day 2: The rinsing routine
- Look for little "tails" forming on the seeds
- Rinse the sprouts 2-3 times a day (morning and night minimum) by placing the jar under a tap and adding cool water until it is ¾ full. Swirl the water around in the jar prior to tipping out. Then place the jar back onto the ceramic bowl, leaning on the green stand.
Days 3-5: Rinsing and watching
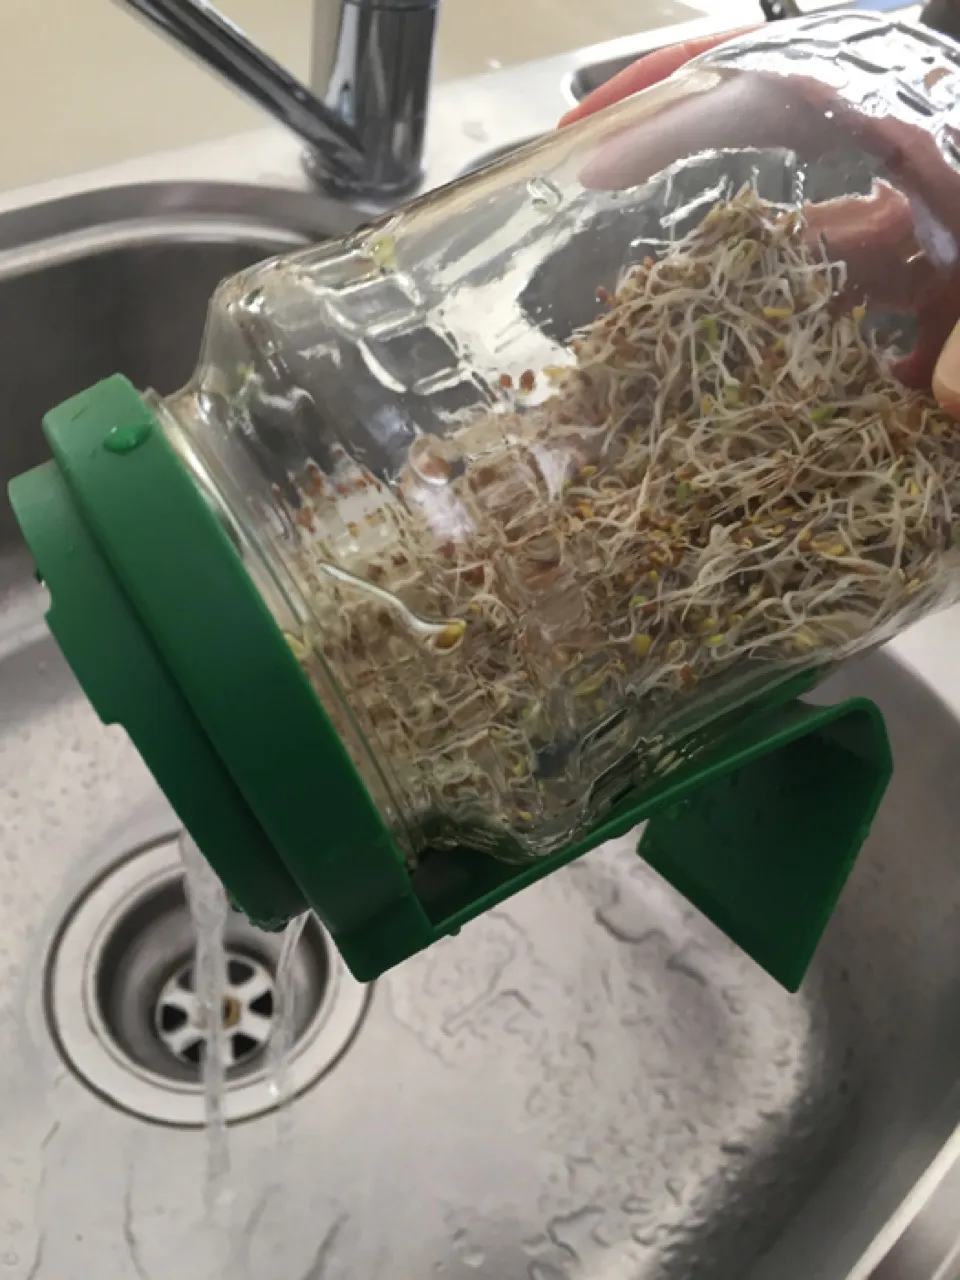
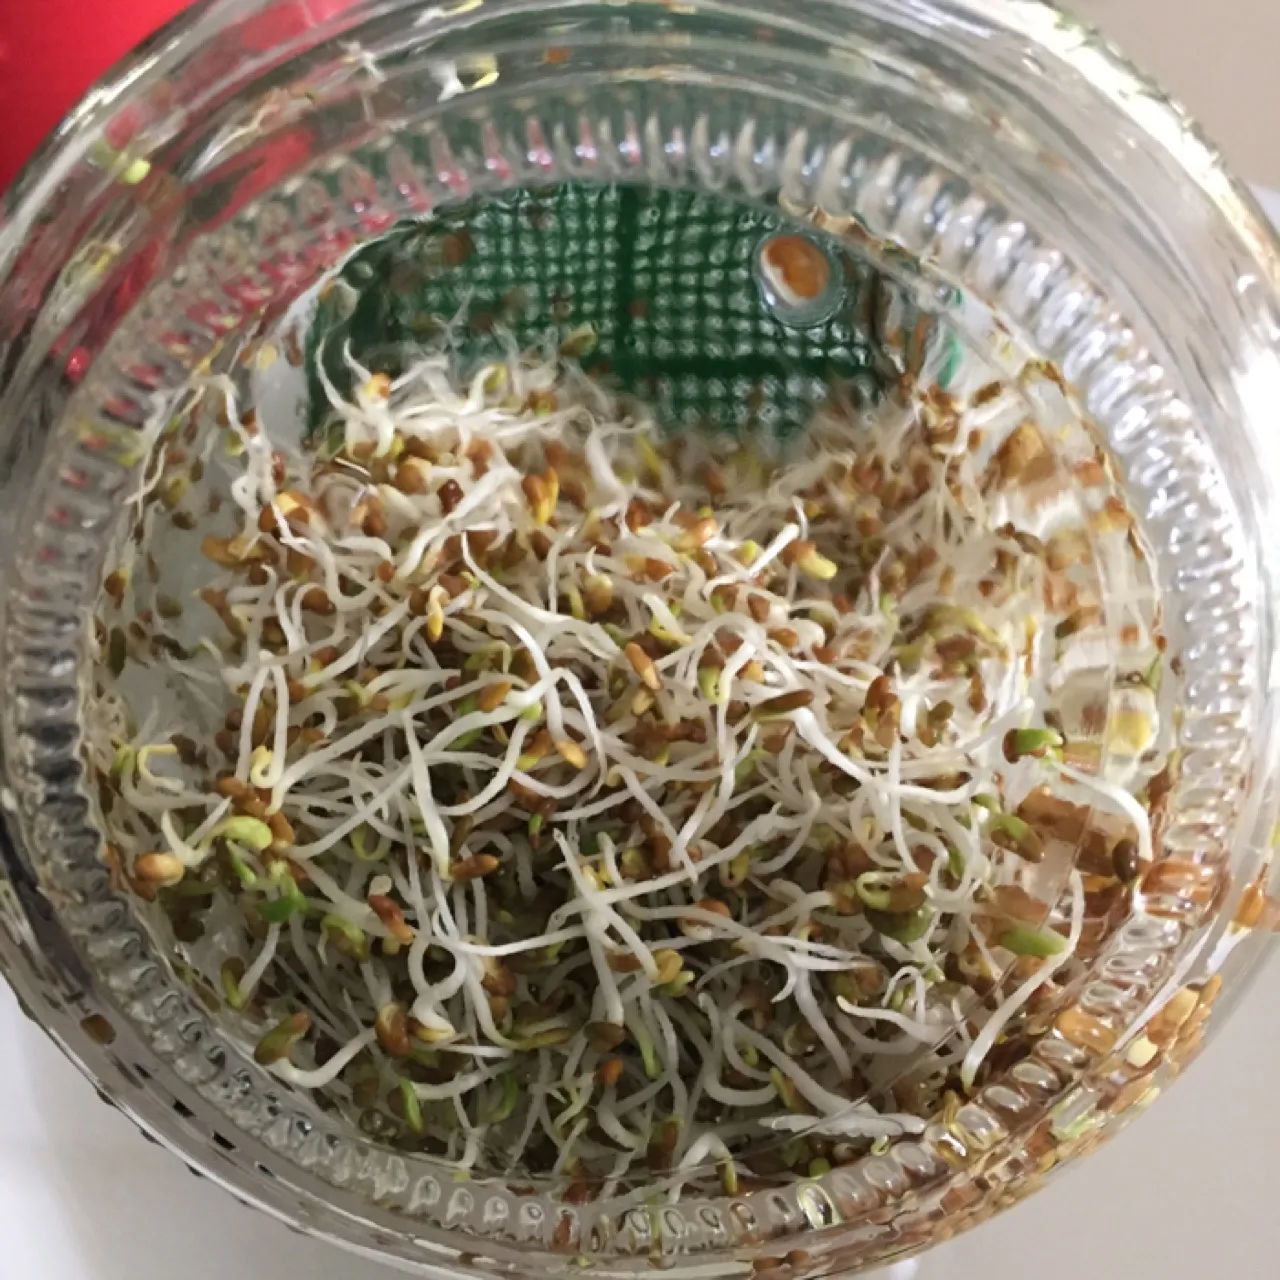
- Continue to rinse sprouts 2-3 times a day, following the instructions outlined in Day 2.
- As the sprouts grow, you will need to ensure the sprouts are rinsed thoroughly, this may take several rinses each time as the jar becomes fuller. Rinsing multiple times is particularly important in humid weather.
- It is helpful to remove the green lid once a day to rinse off any excess seeds that have not sprouted and husks, and to remove any seed congestion around the inside of the lid
Day 6 or 7: Harvesting and eating
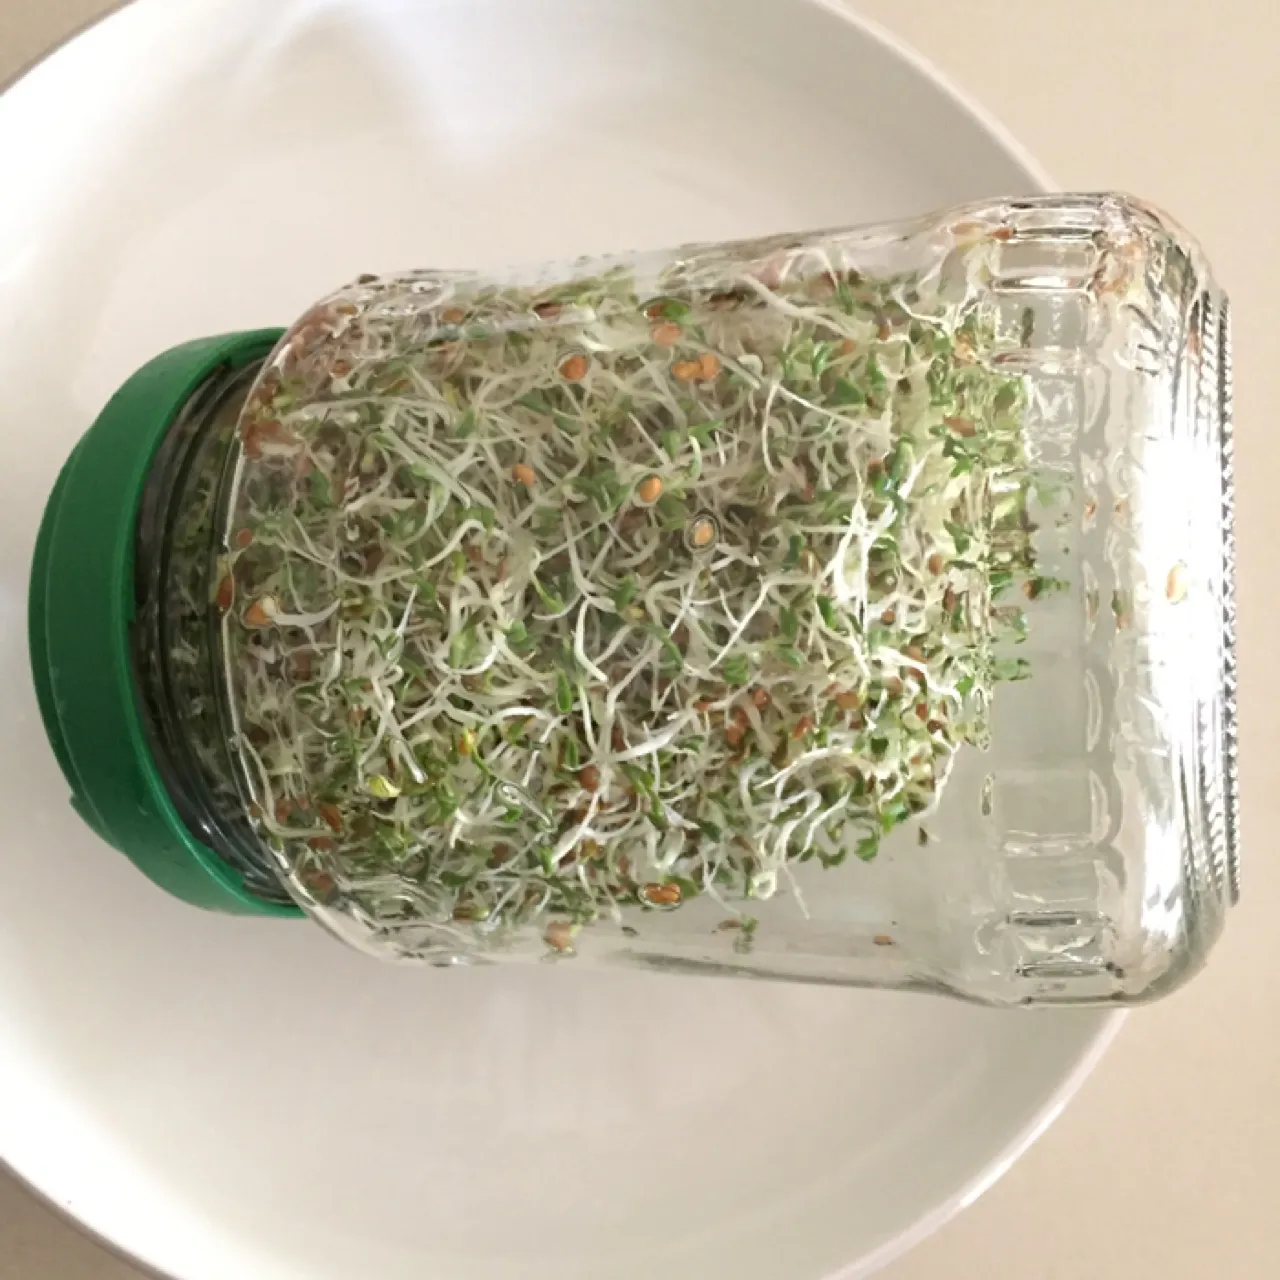
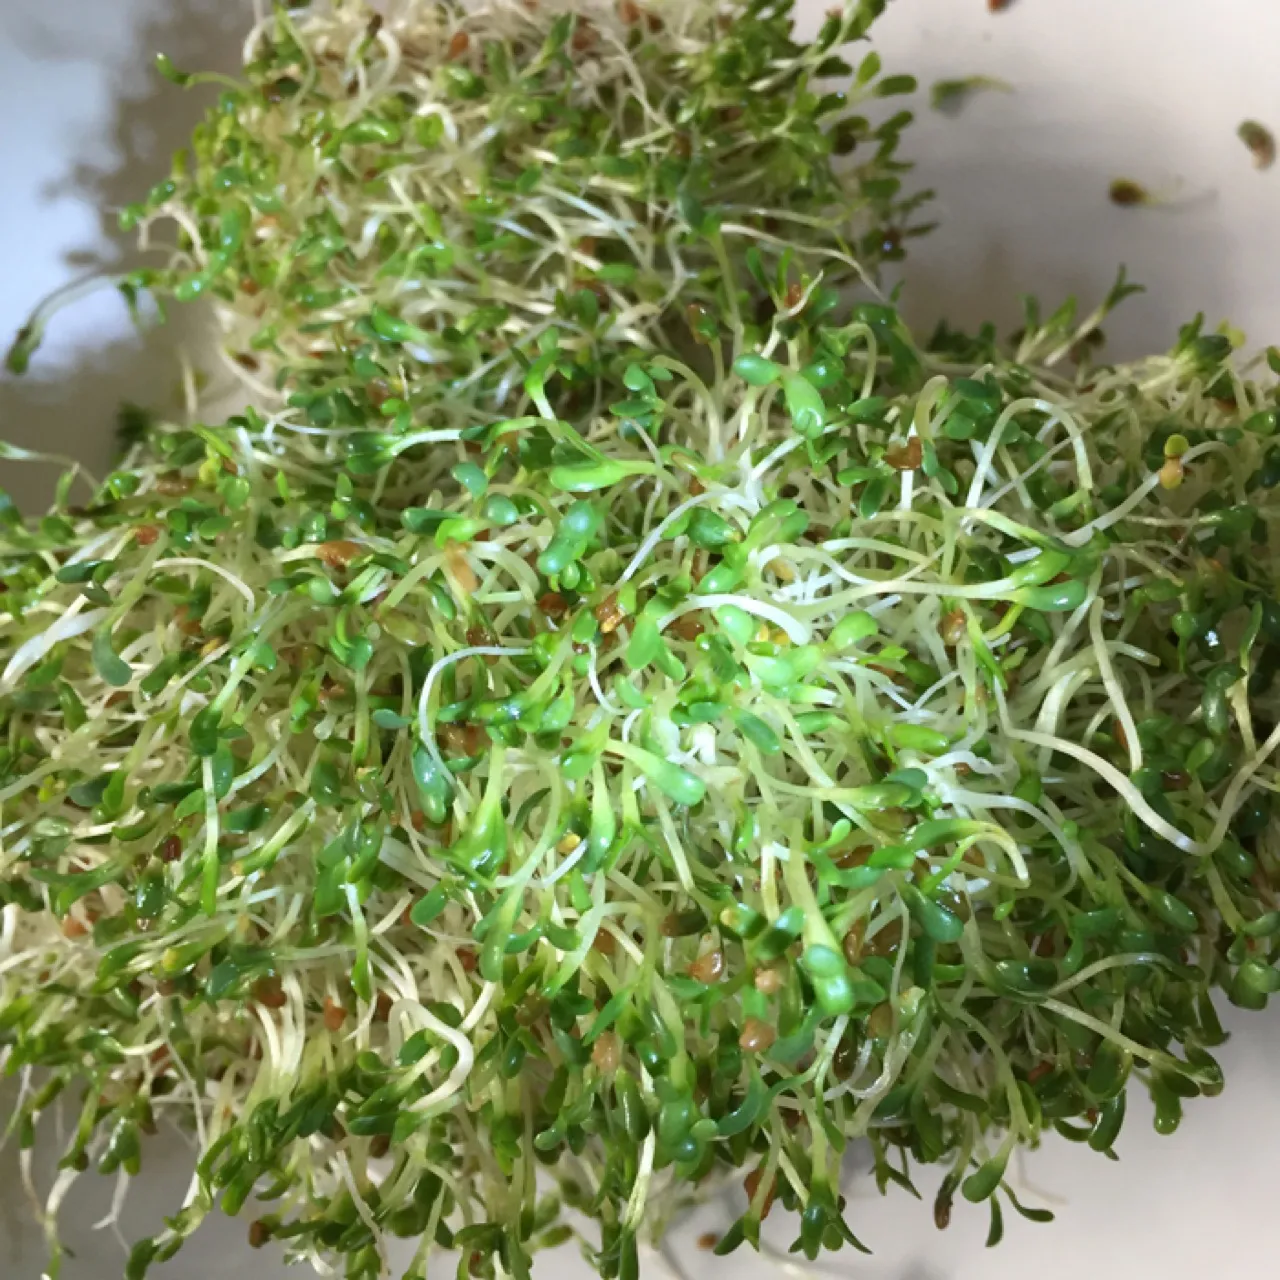
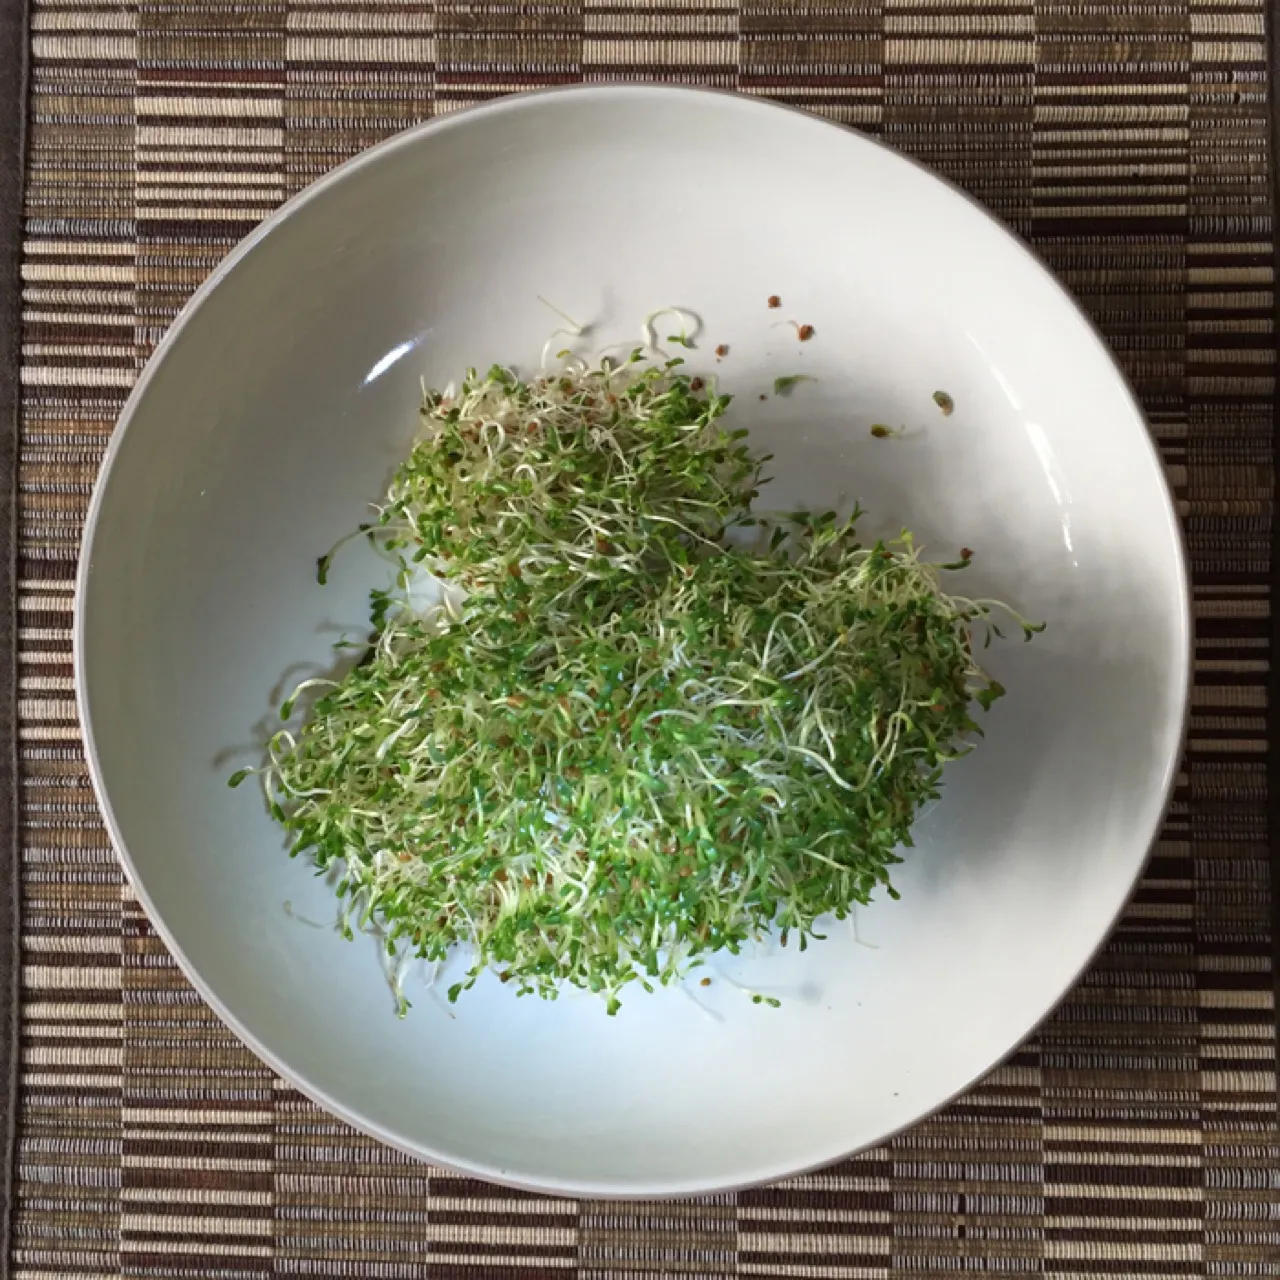
- Sprouts are ready to eat when they are a vivid green colour. In warm weather, this may only take 6 days; in colder weather, it can take longer.
- To harvest, tip the jar upright and remove the green lid. Give one last rinse in fresh, cool water and allow to drain thoroughly. Remove the sprouts and place on paper towel to drain.
- Sprouts can be eaten immediately or stored in an airtight container in the fridge (ensure they do not become too wet by patting dry with a paper towel each day).
Where to buy equipment and seeds
BioSnacky glass seed sprouter https://www.avogel.com.au/food/biosnacky-glass-seed-sprouter/index.php https://herbs-to-use.com/product-category/herb-products/ https://www.greenharvest.com.au/SproutingAndMicrogreens/SproutersAndAccessories.html
Sprouts https://www.avogel.com.au/food/alfalfa-sprouts/ https://greenharvest.com.au/SproutingAndMicrogreens/OrganicSproutingSeeds.html#OrganicStatus
BioSnacky jars and seeds are also available at many local health food store and some growers markets.
